
How to Use the Selection and Move Tool in Adobe Photoshop: A Step-by-Step Tutorial
 |
| Master the Move and Selection Tools: Unleash Your Photoshop Potential |
{tocify} $title={Table of Contents}
Descriptionuse Selection and Move Tool
In this tutorial, we will explore the essential features of the Selection and Move Tool in Adobe Photoshop. These tools are critical for manipulating and organizing layers effectively. Whether you’re a beginner or looking to refresh your skills, this guide will provide clear instructions and helpful tips to enhance your Photoshop experience.
Step 1: Opening Adobe Photoshop
The first step in using the Selection and Move Tool is to open Adobe Photoshop. Launch the application and wait for it to load completely. Once open, you'll see the main interface where you can start working on your projects.
$ads={1}
Step 2: Creating a New Project
Once Photoshop is open, you can either create a new project or open an existing one. To create a new project, go to the menu bar and select File > New. Set your desired dimensions and resolution for the canvas. Click OK to create your new workspace.
Step 3: Downloading an Image
Before using the tools, you need to have an image to work with. You can download high-resolution images from various websites. For example, you can visit this site to find a variety of wallpapers.
Once you find an image you like, download it to your computer. Ensure the image is of good quality to make the most of your editing.
Step 4: Importing the Image into Photoshop
After downloading, you can import the image into Photoshop. You can do this by dragging and dropping the image file directly onto the canvas or by selecting File > Open and navigating to the downloaded file.
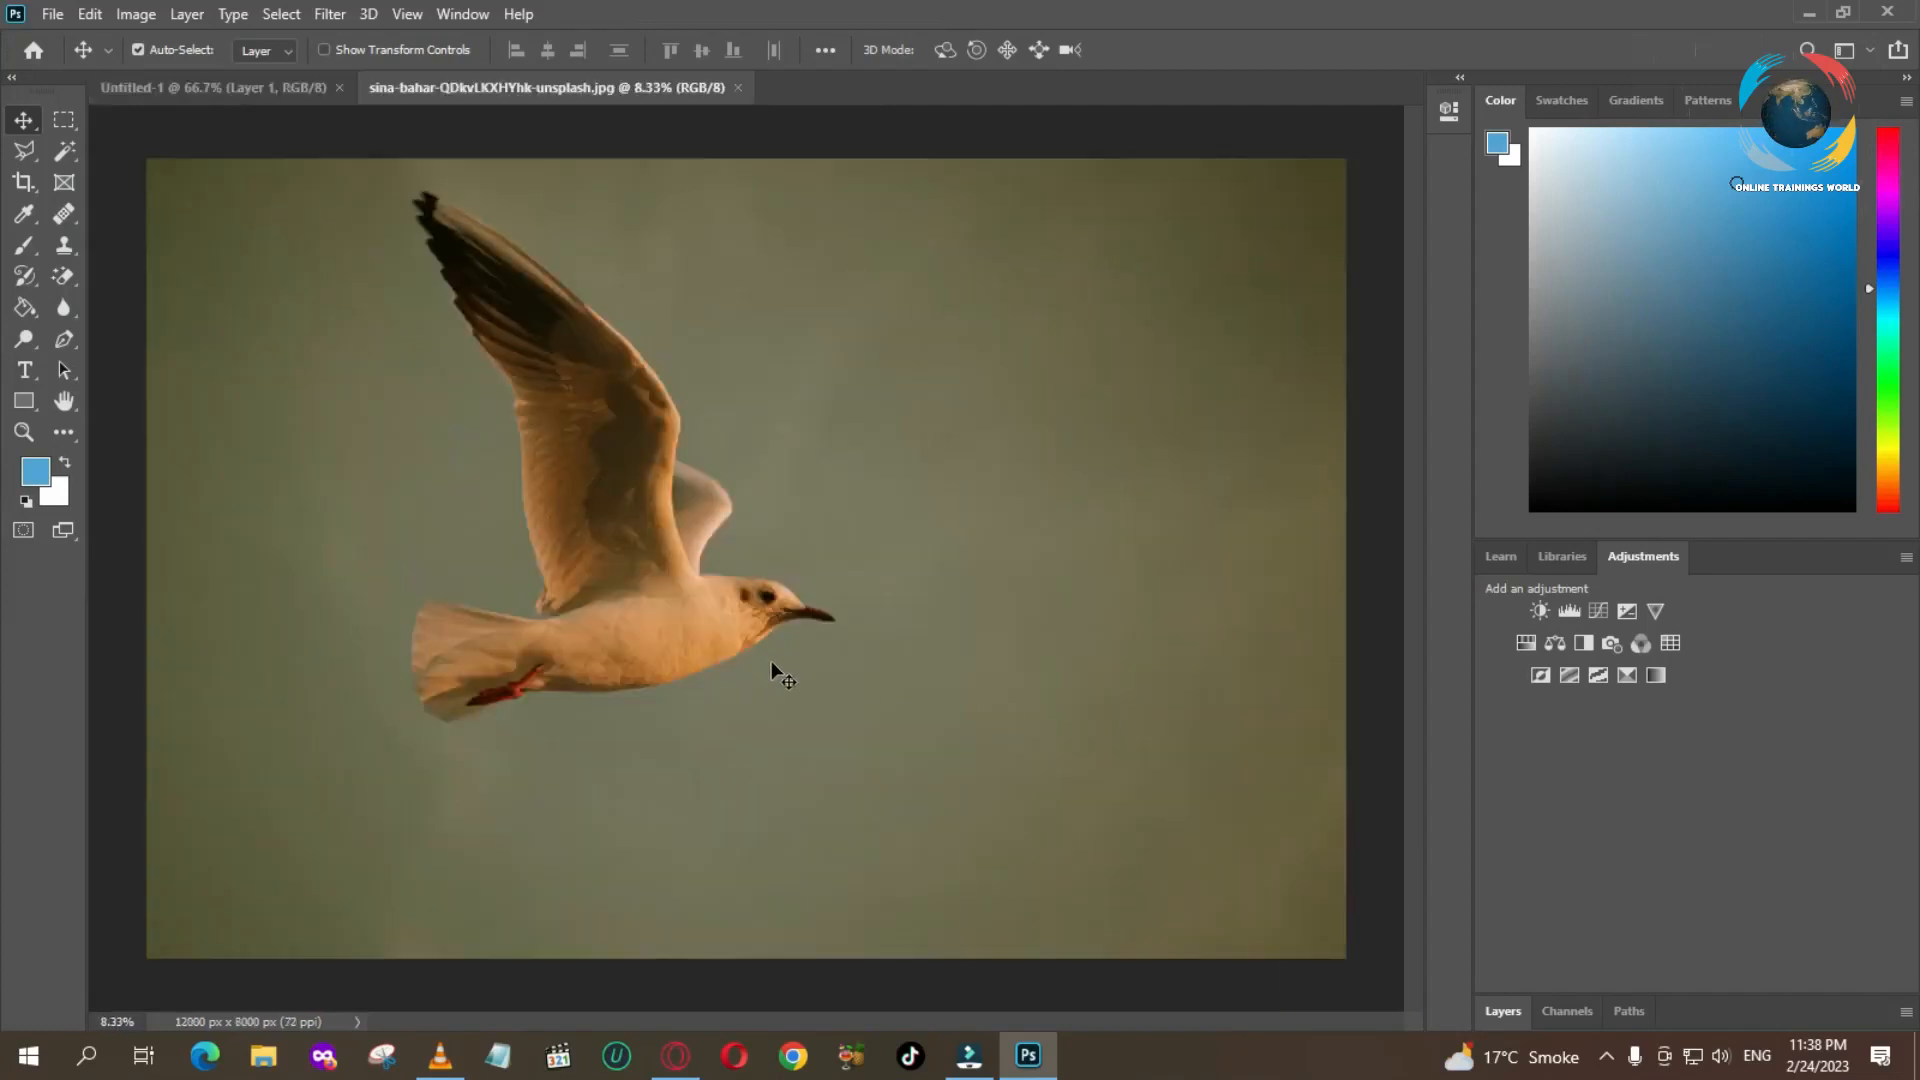
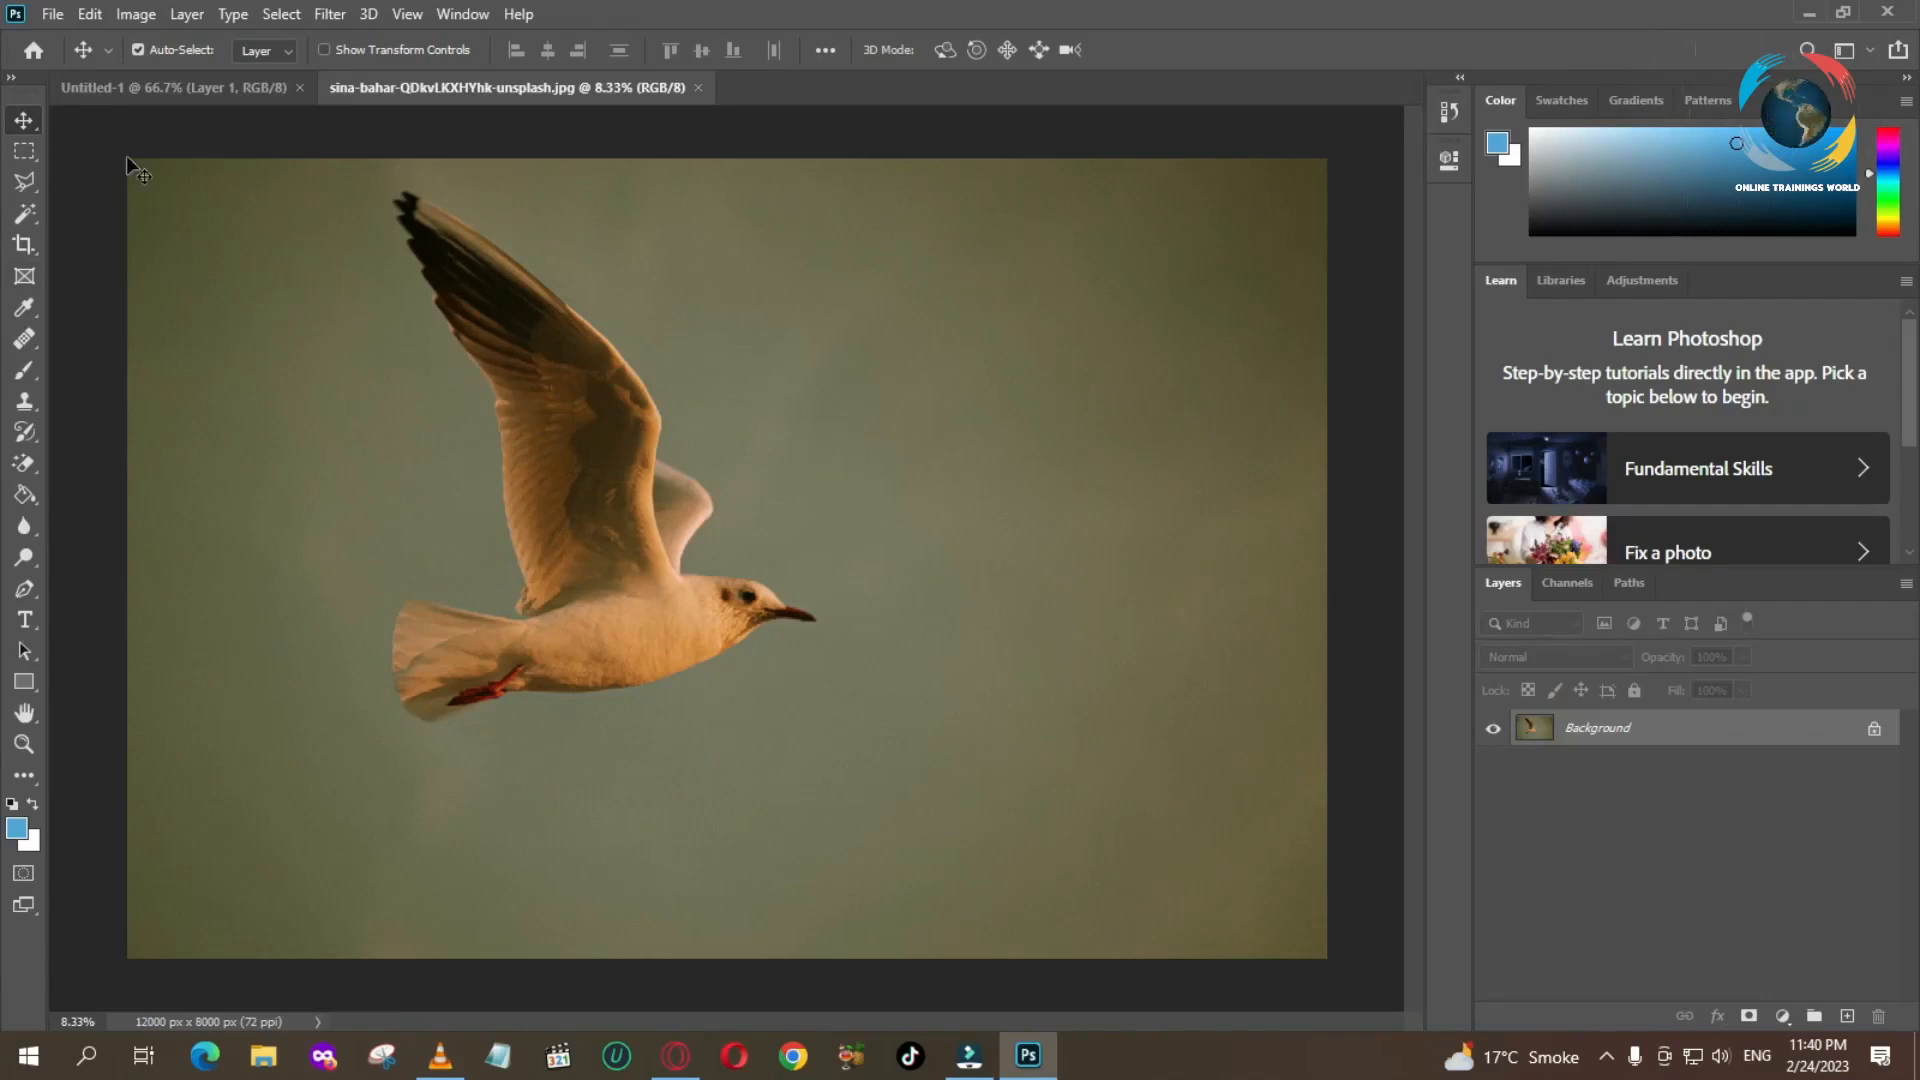
Step 5: Understanding the Move Tool
The Move Tool is essential for positioning layers within your project. To select the Move Tool, click on the tool icon in the toolbar or press the V key on your keyboard. Once selected, click and drag your image to move it around the canvas freely.
Step 6: Understanding the Selection Tool
The Selection Tool allows you to select specific areas of an image. There are various types of selection tools available, including
$ads={2}
- Marquee Tool: For rectangular or elliptical selections.
- Lasso Tool: For freeform selections.
- Magic Wand Tool: For selecting areas based on color.
To use the Selection Tool, click on the desired tool in the toolbar or use the appropriate keyboard shortcut.
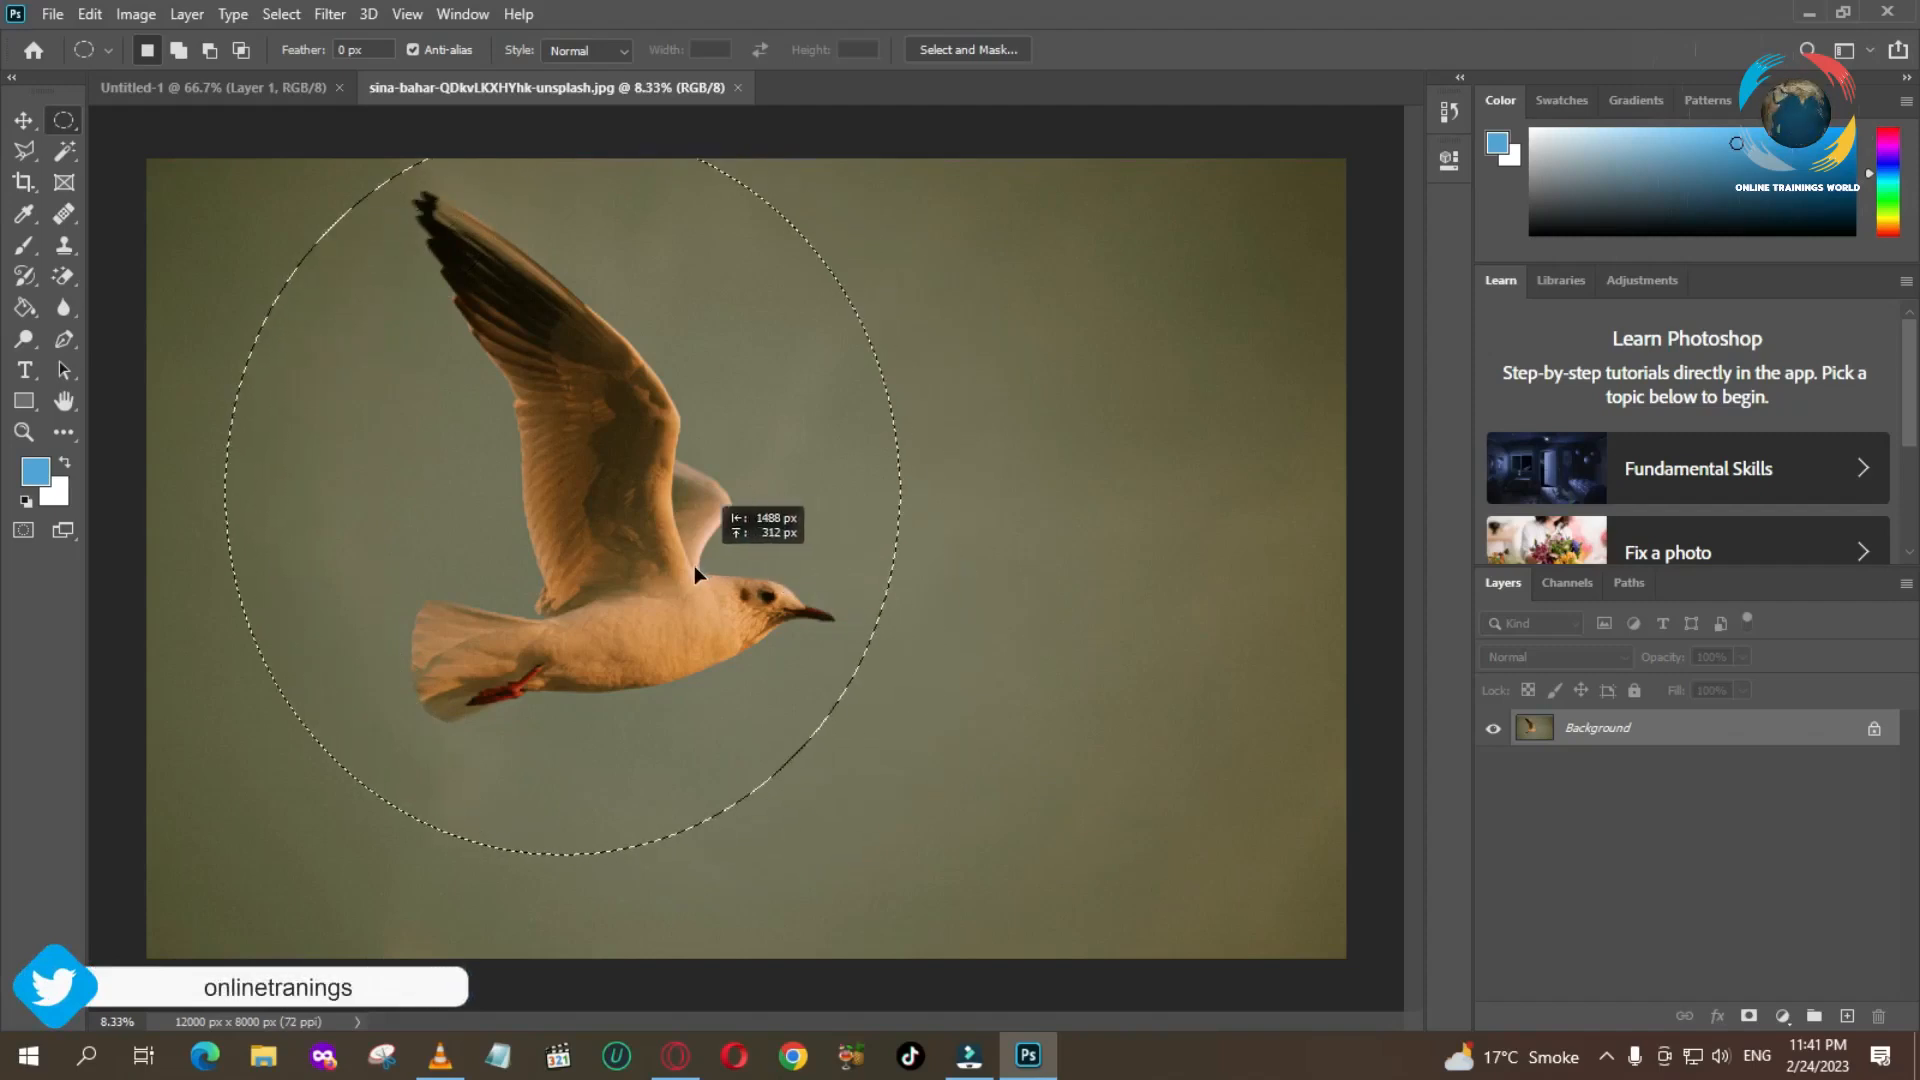
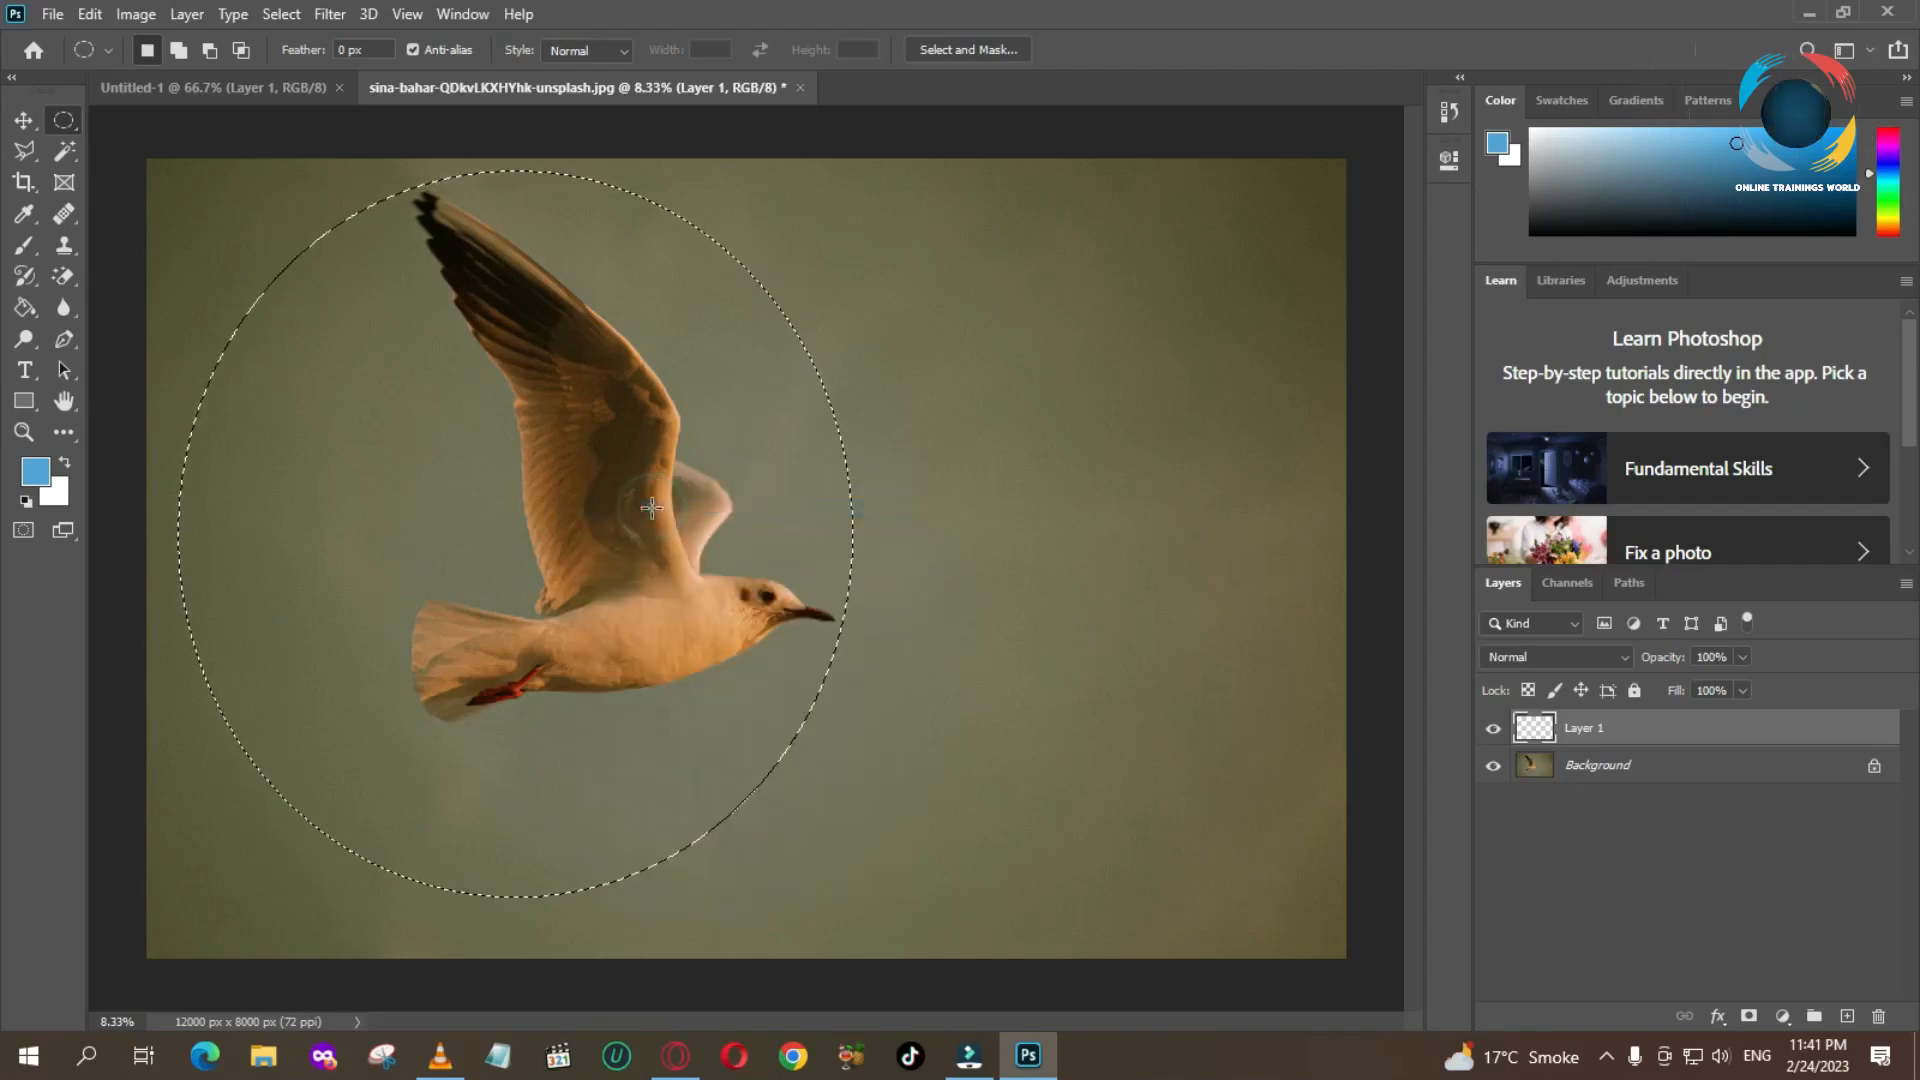
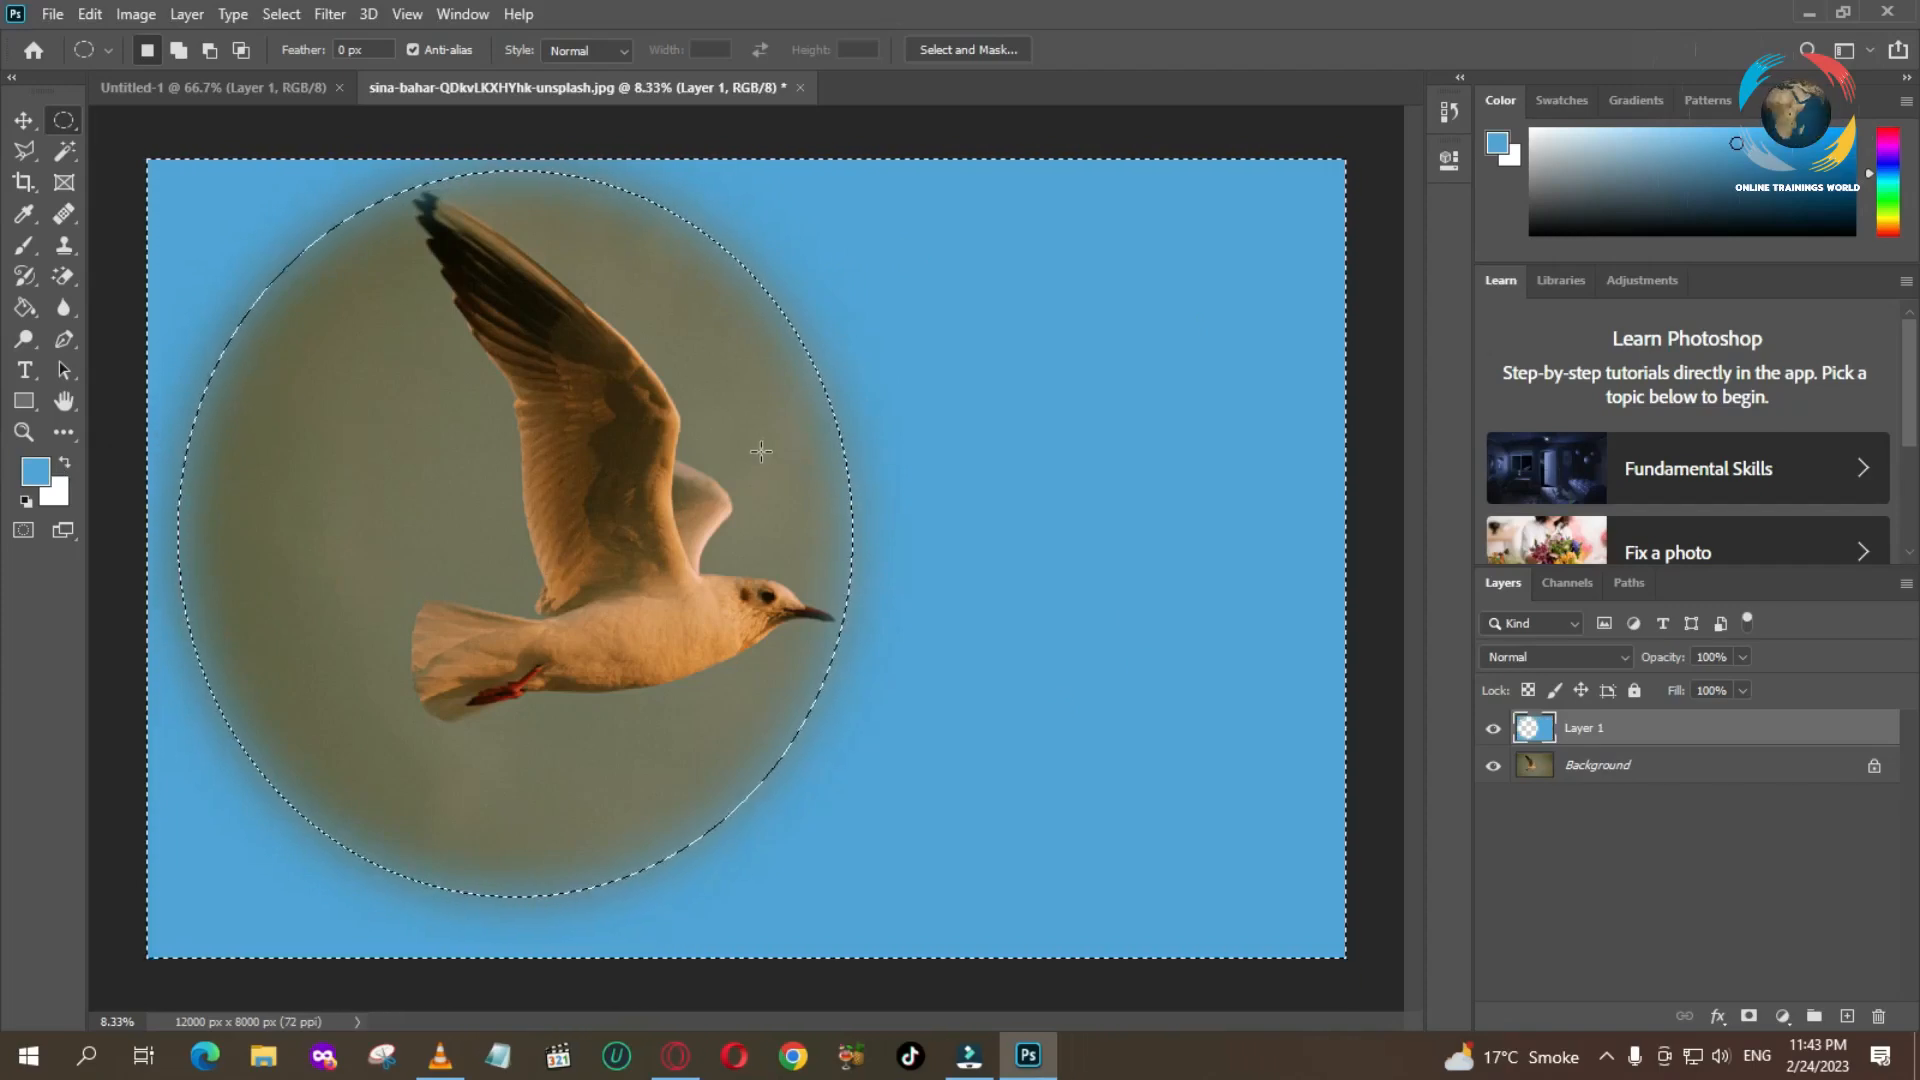
Step 7: Making a Selection
To make a selection, choose your preferred selection tool and click and drag over the area you wish to select. For example, if you are using the Rectangular Marquee Tool, click and drag to create a rectangle around the area of interest.
Step 8: Moving the Selected Area
Once you have made a selection, you can move it using the Move Tool. Simply select the Move Tool and drag the selected area to a new location. This capability allows for easy rearrangement of elements within your project.

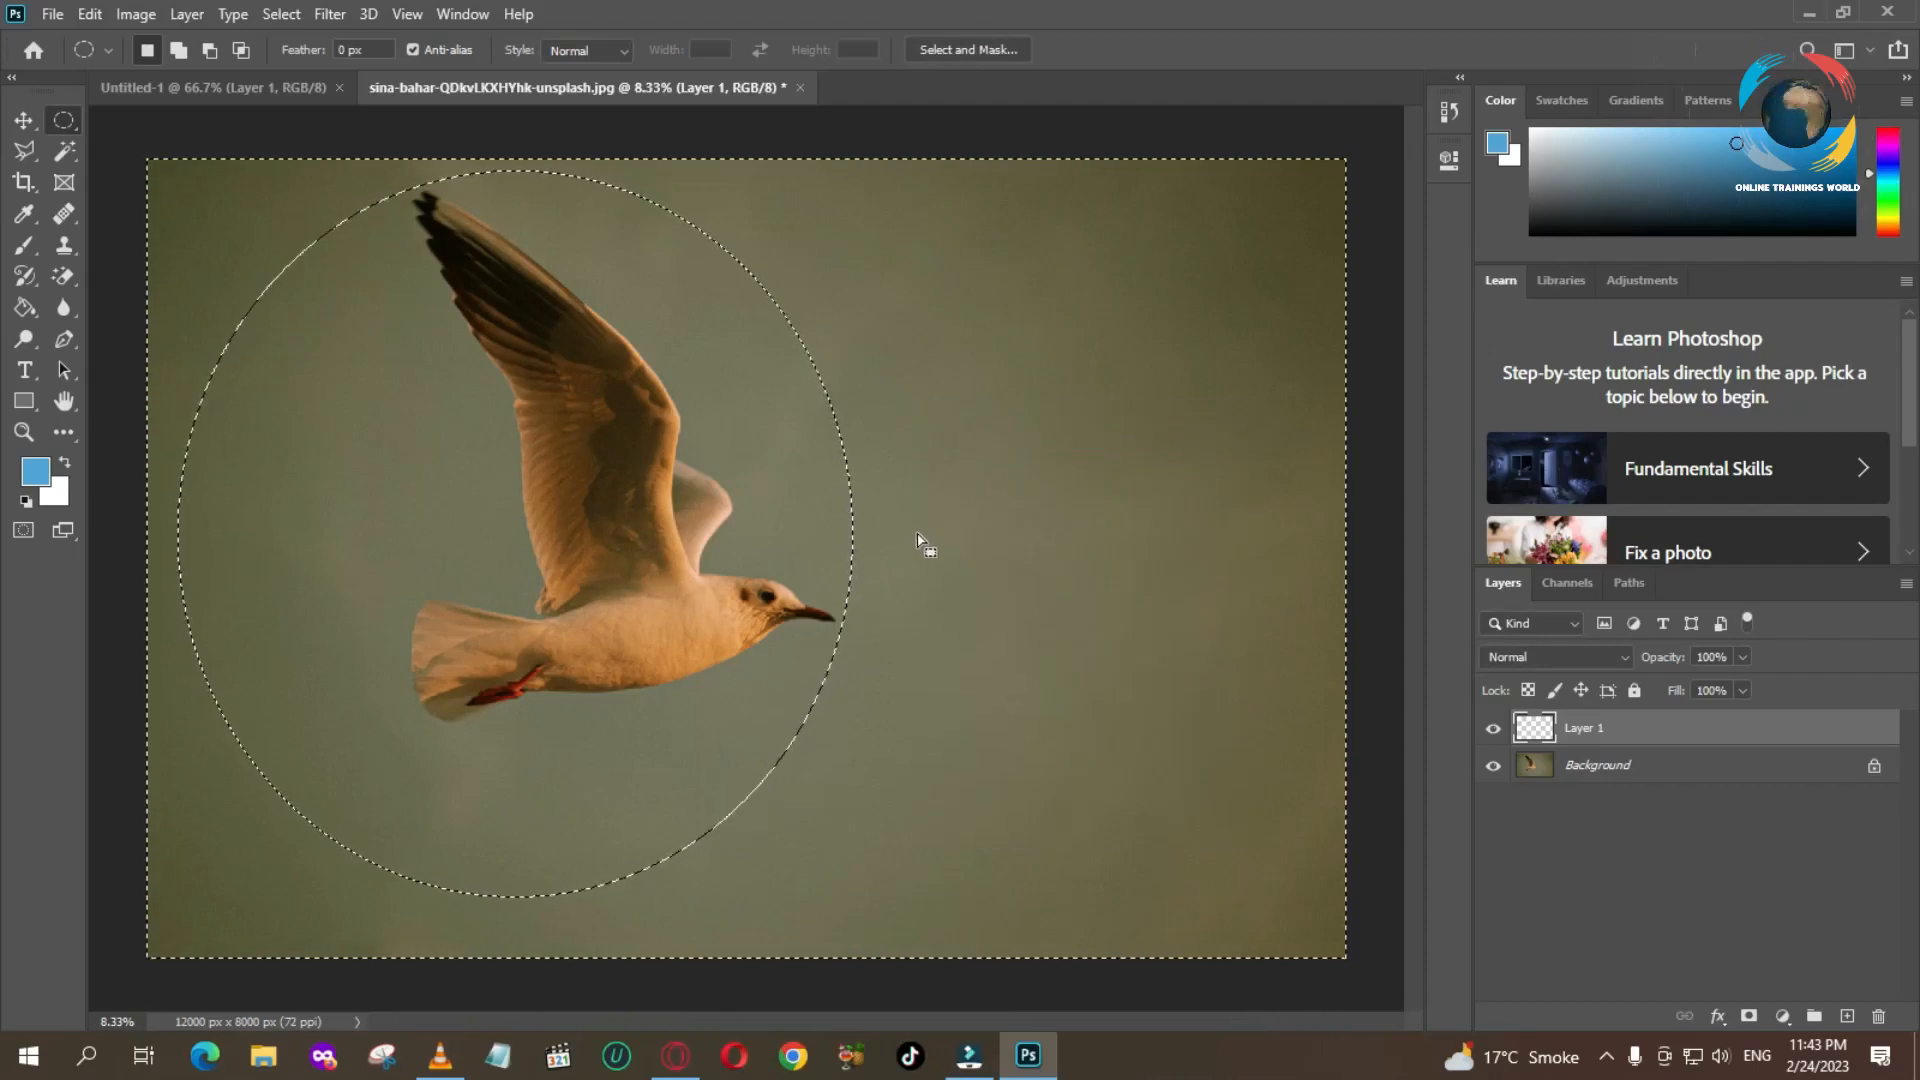
Step 9: Creating a New Layer
To avoid altering the original image, it's good practice to work on a new layer. You can create a new layer by clicking the New Layer icon in the Layers panel. This way, any adjustments you make can be reverted without affecting the original image.
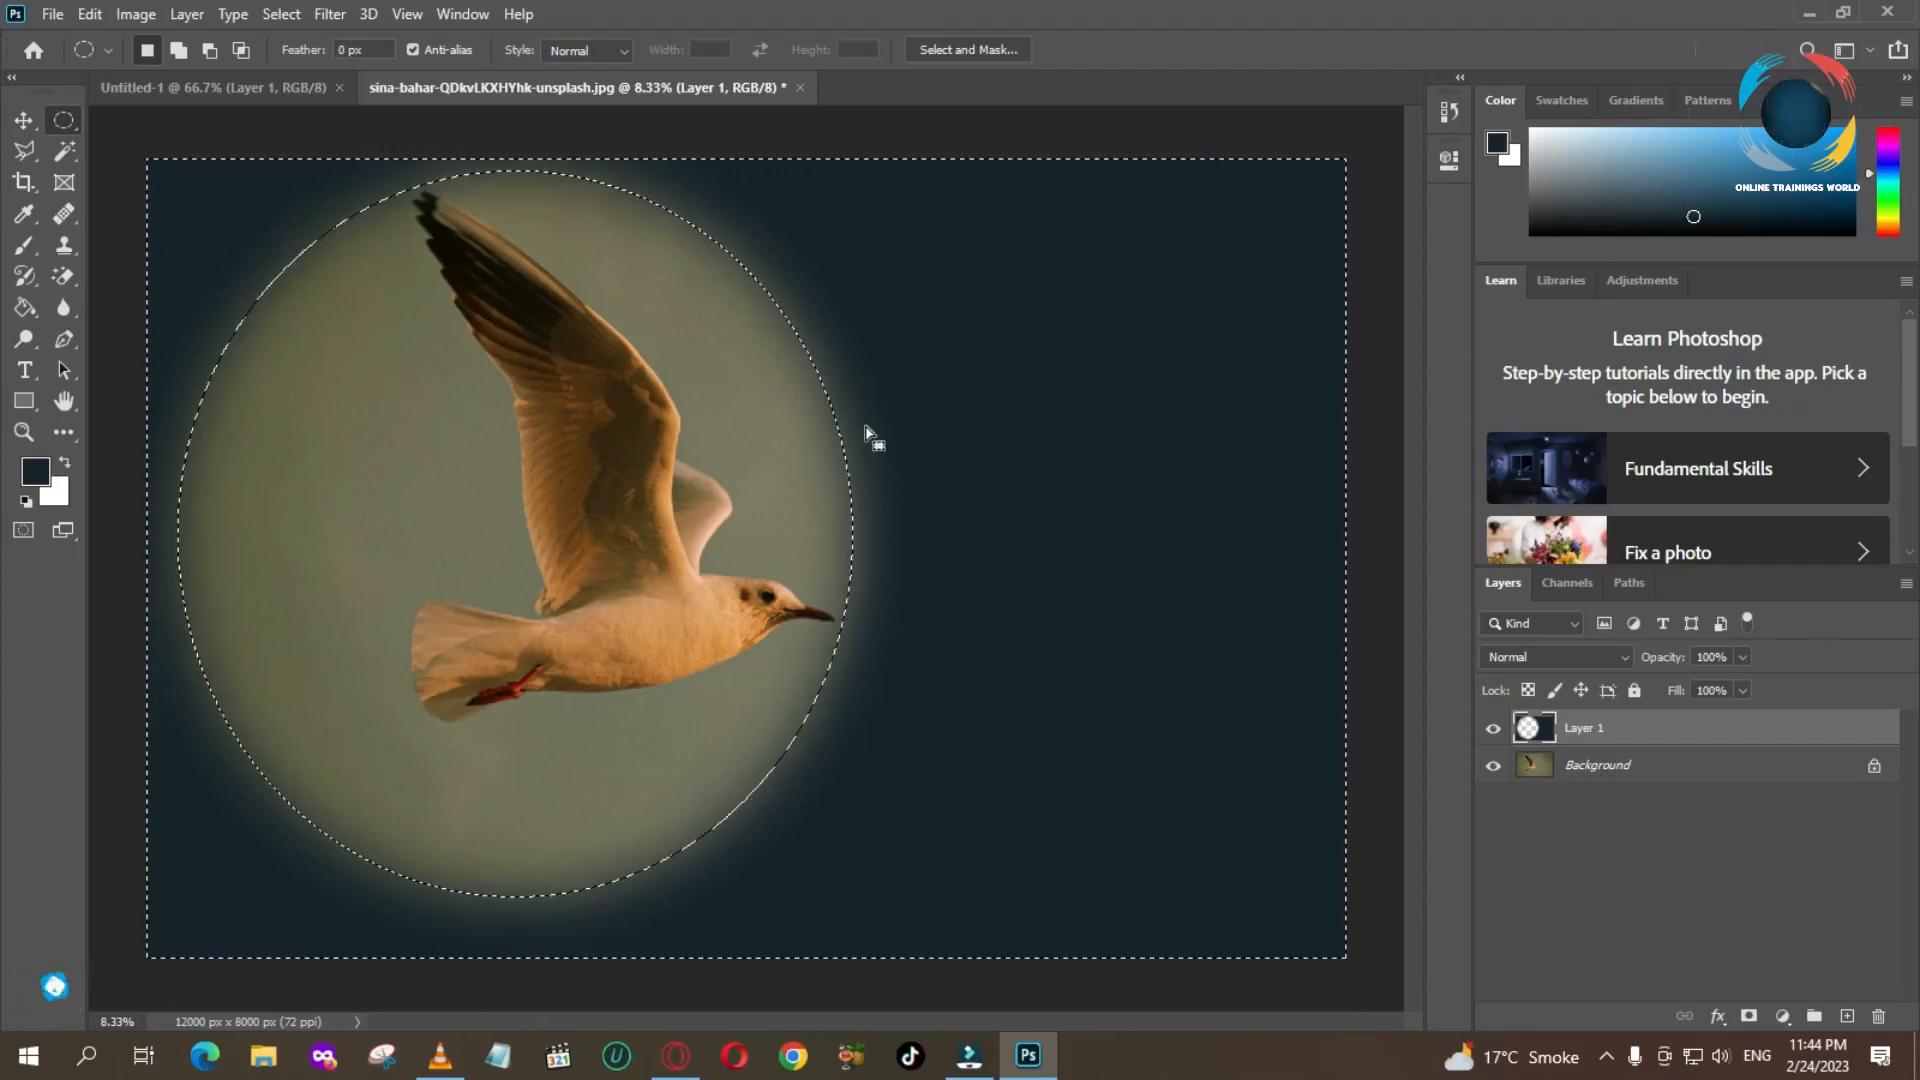
Step 10: Selecting Inverse
If you need to select everything except your current selection, you can use the Select Inverse option. This feature is useful when you want to apply effects to the remaining area of the image. To do this, go to Select > Inverse in the menu.
Step 11: Copying and Pasting the Selection
After making your selection, you can copy it by pressing Ctrl + C (or Cmd + C on Mac) and then paste it using Ctrl + V (or Cmd + V). This action will create a new layer with the copied selection.

Step 12: Applying Effects
With your new layer selected, you can apply various effects or adjustments. For example, you might want to change the color or apply a filter. Adjust the properties as desired to achieve the look you want.
Step 13: Finalizing Your Work
After making all necessary adjustments, be sure to save your work. Go to File > Save As to save your project in the desired format. Consider saving as a .PSD file to retain layers for future editing.
$ads={1}
$ads={2}
Conclusion
The Selection and Move Tool in Adobe Photoshop is fundamental for effective image editing. By mastering these tools, you can significantly enhance your workflow and creativity. For more tips and tricks, consider visiting Bloggers Online Trainings.